Key Takeaways
Apple ProRAW is a file format available on iPhone Pro models that allows users to edit color and exposure for better results than the default JPEG. Shooting in Apple ProRAW provides more editing flexibility, such as adjusting white balance and brightening/darkening images, and captures more detail in the darkest and lightest areas. Apple ProRAW is not suitable for every photo and may not be compatible with certain shooting modes like Portrait. It also takes up more storage space than JPEG files, so it’s important to consider storage limitations before using it extensively.
Unlike dedicated cameras, smartphones can take, edit, and share all from one device, but iPhone Pro users can create better edits with a feature hidden inside the iOS settings. Apple ProRAW is a file format that allows iPhone users to edit color and exposure with better results than the default JPEG. Learning the ins and outs of Apple ProRAW can improve the quality of iPhone images simply by adjusting a few settings.
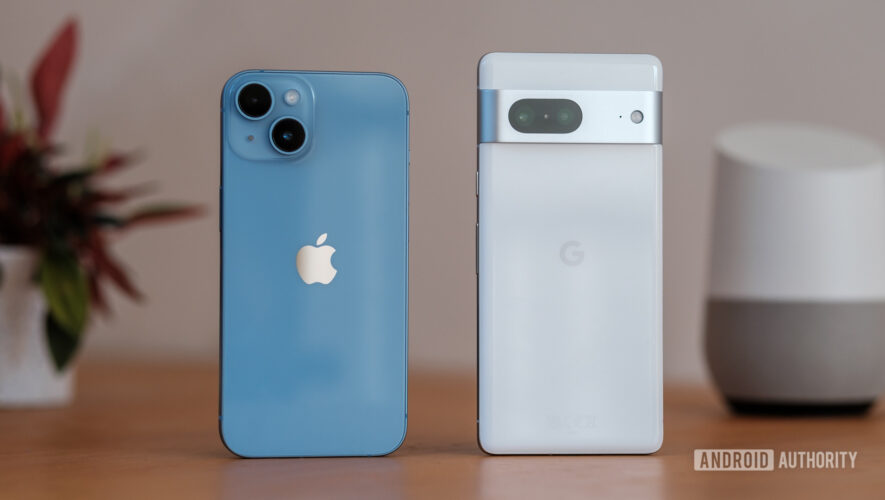
Apple ProRaw is a feature that is, for now, only on iPhone Pro models. The file format first launched with the iPhone 12 Pro, but it is available on every Pro model launched since. Apple ProRAW also requires iOS 14.3 or later.
While Apple ProRAW will improve the quality of photos shot and edited on an iPhone, the file format isn’t right for every photo. Apple ProRAW doesn’t support every shooting mode, such as Portrait, and can quickly fill up internal storage and iCloud. Learn how to shoot RAW images on an iPhone — and when not to use this feature.
What is Apple ProRAW?
The key to understanding Apple ProRAW is first recognizing what a RAW photograph is. A RAW photograph captures more data than the standard JPEG format. With that extra data inside a RAW file, the image can be further adjusted after it has been captured. For example, if the photograph is too blue or orange, you can open that RAW file, adjust the white balance, and get the colors that you want. If you try to adjust the white balance on the same image in a JPEG, the colors often won’t look quite right because a JPEG lacks the extra data.
Along with the white balance, a RAW file can also easily be edited lighter or darker than the original, with much better results than applying those same adjustments to a JPEG file. In the two photos above, the darker image is an edited JPEG — it couldn’t be brightened any further, unlike the ProRAW image. Colors can also be easily manipulated from a RAW file. This file type also tends to have a wider dynamic range, which means that the darkest and lightest areas of the image will retain more detail than on a JPEG. Many professional photographers shoot in a RAW format, but the feature has only recently arrived on smartphone cameras.
While the file contains more data, a RAW image doesn’t have the usual edits that a camera automatically applies to a JPEG file, such as applying a color profile or automatically correcting lens distortions. That’s because RAW photographs are meant to be edited and without applying those usual in-camera adjustments, photographers have more control over the final results. But, if a photographer shoots in RAW but doesn’t complete any editing, the RAW file will actually look worse than the JPEG.
An Apple ProRAW image is an iPhone RAW photo that still applies the usual in-camera edits. That means that Apple ProRAW images have all the editing flexibility of a RAW file, but if you don’t apply any edits at all, it will still look just as good if not better than the JPEG. When you shoot Apple ProRAW from an iPhone, you have all the editing flexibility to adjust the colors or exposure, but you also have the option to share it right away without any edits at all. Apple ProRAW still includes the Smart HDR, Deep Fusion, and Night mode effects as well.
Apple ProRAW files have a .dng extension — this is a universal file format that any RAW-enabled photo editor can open and work with. While most image editors can open the file, the app must be compatible with Apple ProRAW to have adjustments like Night mode or HDR already applied to the image.
When should you use Apple ProRAW?
Use Apple ProRAW any time you may want to edit an image later. With ProRAW, you can easily adjust the colors. The file can also be lightened or darkened much more than a JPEG file can. Apple ProRAW files are saved as a .dng file, which is compatible with most but not all image editors. Double-check that your favorite image editing app supports .dng files before switching to ProRAW.
When should you not use Apple ProRAW?
Apple ProRAW files have a lot of flexibility for editing later — but they will also take up more space inside the Camera Roll and iCloud. A 12-megapixel ProRAW file will take up 10 to 12 times more space than a regular JPEG or HEIF file. If you take lots of photos, have an iPhone with limited storage, or never go through and delete unwanted photos, shooting all your images in ProRAW will eat up space quickly.
Apple ProRAW also isn’t compatible with Portrait mode or Live photos.
What photo editing apps support Apple ProRAW?
The native Photos app supports ProRAW. But, many of the most popular iPhone editing apps also support the file format. Some of the apps that can support ProRAW include Lightroom, VSCO, Afterlight, Darkroom, RAW Power, RNI Films, and Muse Cam.
Apple ProRAW files can also be edited on a laptop or desktop computer. The file extension on an Apple ProRAW image is .dng, which is compatible with most advanced image editing programs, including Adobe Camera RAW, Lightroom, and Capture One.
How to shoot RAW photos on an iPhone
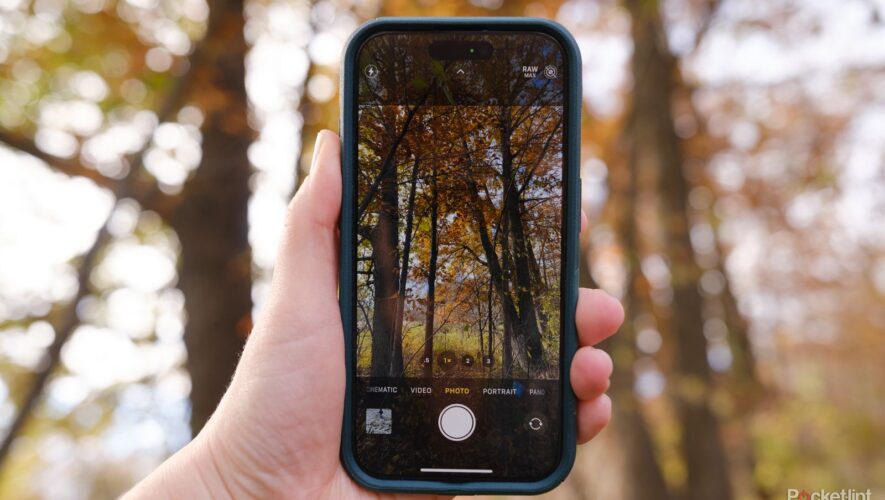
Thankfully, once you turn on Apple ProRAW in the iOS settings, an icon in the Camera app allows you to turn the feature on and off quickly. That means you can shoot in RAW when you want it and JPEG when you want to save space without digging into the Settings app every time. Here’s how to shoot in Apple ProRAW on an iPhone.
Open the Settings app Navigate down to Camera and tap on it Tap Formats Tap the ProRAW & Resolution Control toggle on On the iPhone 14 Pro and iPhone 15 Pro, tap on Pro Default and select ProRAW Max for 48-megapixel images or ProRAW 12 MP for smaller 12-megapixel files Navigate to the Camera app In the upper right corner, ensure the RAW icon is not crossed off to take a RAW photo For photos that don’t need the RAW flexibility, tap the RAW icon until it is crossed out to shoot in JPEG or HEIF
Pocket-lint
https://www.pocket-lint.com/what-is-apple-proraw-shoot-raw-images-iphone/


