Email is a crucial communication tool in our modern world, and Gmail is one of the most popular email services available. If you’re an iPhone, you’ll be pleased to know that you can schedule emails in Gmail for iOS. Scheduling emails allows them to be sent at a later time and date. In this article, we’ll show you how to schedule emails in Gmail for iOS, so you can use this feature to make your email communication more efficient and effective.
Learn how to schedule emails in Gmail on iPhone
Using the scheduling feature in Gmail for iOS can be a helpful tool for improving your email communication. Not only does it allow you to send emails at a more convenient time for the recipient, but it also gives you the chance to review your message before it’s sent. Follow the steps below to learn how to schedule emails in Gmail on iPhone:
The first step in scheduling an email in Gmail for iOS is to launch the app and compose a new message. To do this, tap on the big plus button at the bottom of the screen. This will open a new email message that you can fill out with your desired content.
Once you’ve composed your message, tap on the three dots in the top-right corner of the screen. This will bring up a list of options for your email. From this list, select Schedule Send to access the scheduling feature.
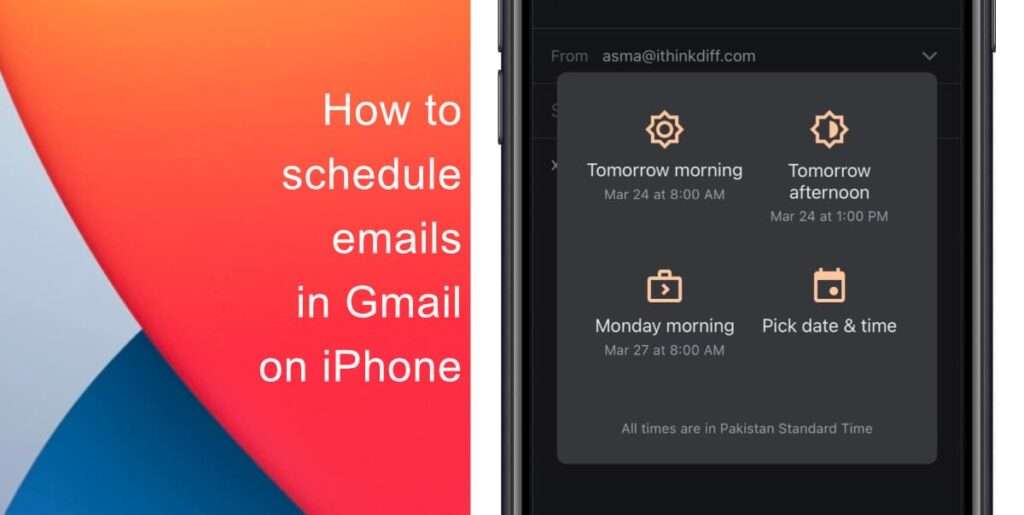
After selecting Schedule Send you’ll see a list of suggested times for sending your email. If you’re happy with one of these times, simply tap on it to select it. However, if you want to choose a different time, tap on Pick date & time to set your own time and date for the email to be sent.
Once you’ve chosen a time to send your email, tap on Save in the top-right corner of the overlay. This will save your scheduled email and it will now appear in your Scheduled box.
If you need to make changes to your scheduled email or cancel it altogether, you can do so by opening the message and tapping on Cancel send. This will move the email to your Drafts box, where you can edit or delete it as needed.
We hope this guide helped you learn how to schedule emails in Gmail on your iPhone. If you have any questions, let us know in the comments below.
Read more:
iThinkDifferent