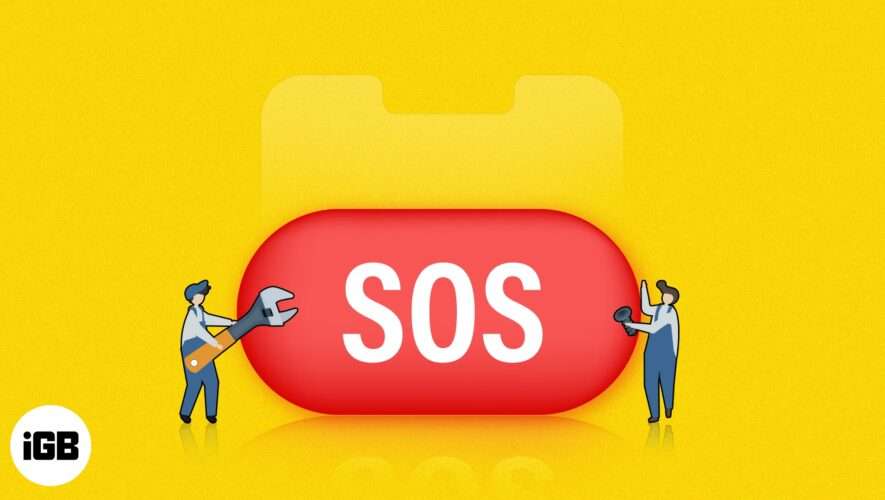
Imagine a day when we cannot use most basic functions of our iPhones, such as making calls or surfing the internet. No, I’m not talking about any apocalypse. This is something that can happen now with the SOS Only issue on iOS 16.
This is an issue faced by many users. So, in this article, I’ll help you understand how to fix the SOS Only issue on your iPhone and how you can remove the warning from your iPhone’s status bar.
What does “SOS Only” mean on iPhone?
It’s a human instinct to question something you have never met. When your iPhone shows SOS Only, you won’t be able to make regular calls, SMS, or cellular data – blocking all your network services. The SOS Only appears in the top-right corner of the control center in iOS 16 and the top left corner in previous versions.
You can still use Emergency SOS to call concerned authorities. However, as of publishing, this service is only available in the United States, Europe, Canada, and Australia.
These are the main reasons why your iPhone displays the SOS Only error:
You are outside the carrier coverage area
You have a bad network reception
You’re using an old device
You don’t have an active cellular plan
Apart from that, we have a dedicated guide for no-service issues on iPhone if you are facing that instead of SOS Only on iOS 16.
10 Ways to fix “SOS Only” issue on iPhone
Now that you know what SOS means on iPhone and the reasons for that, let us look at how to get rid of SOS Only on iPhone.
1. Enable roaming on iPhone
When preparing to travel outside the town, state, or even internationally, turn on roaming on your iPhone.
Launch the Settings app → go to Cellular/Mobile Data.
Tap Celluar/Mobile Data Options → toggle on Data Roaming.
With this, the network provider can provide the connection and help you turn off SOS Only on your iPhone. However, some cellular service providers might charge you extra for roaming.
2. Update carrier settings on iPhone
The carrier provides an update to improve cellular connectivity and overall network performance. While this usually takes place automatically, you can still check and update carrier settings on your iPhone. Usually, this issue can bring back 5G on iPhone.
3. Turn on/off Cellular Data
If a SIM card is inserted into your iPhone, and no cellular service is available, there might be a silly issue with your device. You can try to turn off Cellular Data and turn it on again to see if the issue is still there. Here are the steps:
Invoke the Control Center and tap the Cellular Data icon. Wait for a few seconds, and tap on it again.
Apart from that, you can also do the following:
Open Settings.
Tap Cellular/Mobile Data → toggle off Cellular/Mobile Data.
Wait for some seconds, and then Toggle on.
4. Switch to 4G or LTE
Enjoying 5G on iPhone? Well, that might be why your new iPhone says there is no service after activation. 5G is relatively new, and cellular companies are optimizing their infrastructure; hence, staying in 4G or Auto mode is still the better option until 5G is widely available.
5. Turn on/off Airplane Mode
This method lets you quickly restart your wireless connection apart from Bluetooth. This can thus help you to turn off SOS Only on your iPhone.
Open Control Center → tap the Airplane icon.
After some time, toggle it off and see if the issue is still there.
Alternatively, you can also do the same by going to Settings → Airplane Mode.
6. Disable or enable automatic Network Selection
This setting helps your SIM connect to the right network. However, it might not find the right one instantly.
To solve this, you can switch off and turn on Automatic Network Selection on your iPhone, which will re-establish the connection and fix the SOS Only issue.
Open Settings → choose Cellular/Mobile Data.
Select Network Selection → toggle off Automatic.
Wait for a few seconds and toggle it on.
7. Re-insert SIM card
Although rare, network connectivity can also be caused by a physical SIM card. In such cases, you can take the SIM out, put it back inside, and see if that helps. However, if you are using eSIM on your iPhone, don’t reset it unless your carrier advises.
8. Reset Network Settings
Since none of the methods helped you to turn off SOS Only on your iPhone, let’s erase all the connections it has made.
Performing the following steps will completely erase all the saved data related to connected Bluetooth devices, Wi-Fi passwords, VPN configurations, and all other network settings, including SOS Only (hopefully).
Open Settings → tap General.
Scroll down and select Transfer or Reset iPhone.
Select Reset → choose Reset Network Settings.
Enter the passcode.
Now, choose Reset Network Settings.
9. If you’re on a 3G network
With the arrival of 5G and the improvements in the 4G network, many cellular service providers have started to shut down their 3G mobile services and use that resources elsewhere. Hence, the following devices might see SOS Only:
iPhone 5s, iPhone 5c, or earlier
iPad 2 Wi-Fi + Cellular or earlier
If you own an iPhone 6 or an iPad (3rd generation) or later and haven’t updated yet, it’s time to update your device.
10. Other common fixes
Since we have come all the way here, let me give you some free advice, “Never give up even if your mind tells you to. Because it hasn’t experienced the taste of victory.” If you cannot get rid of SOS Only on iPhone, here are some last-resort options:
Update iPhone: With every new iOS version, Apple ensures to iron out all the bugs and optimize the OS. So if you see SOS Only on your status bar, how about updating your iPhone or iPad?
Restart iPhone: Everyone deserves a restart, even your iPhone. So restart your iPhone, and if it’s stuck, you can also try to Force restart your iPhone.
Reset iPhone: While this can be considered as one of the last resort options, you can also try to reset your iPhone and see if the issue is fixed.
Contact Apple Support: Since none of the issues are working for you, the only option is to visit Apple Support and see if you can help get rid of SOS only on iPhone.
Contact carrier
Since none of these issues are helpful, the last resort is to contact the carrier provider and ask for help. They can help you by replacing your current SIM or other measures.
Solve SOS Only issue on iPhone!
Living without cellular services is a nightmare I wish would never come true. With this guide, I hope that I was able to help you how to turn off SOS only on your iPhone. However, if you still have any suggestions or queries, do let me know in the comments.
More interesting reads for you:
Fix low call volume issue on iPhone
iPhone not receiving texts from Android? 10 Ways to fix it!
Call failed on iPhone? 10 Ways to fix the issue
iGeeksBlog


