Gmail’s scheduling feature allows you to compose an email in advance and schedule it to be sent later at a more convenient time. However, sometimes you may realize you made a mistake or need to change a scheduled email. So, here’s how to edit or cancel a scheduled email in Gmail with ease.
Knowing how to edit or cancel a scheduled email can help when you need to make last-minute changes or wish to reschedule an email without having to face any embarrassment later on. With the understanding that you already know how to schedule an email in Gmail, let’s begin with the article.
How to Edit a Scheduled Email in Gmail
During the time between scheduling and sending an email, you can edit or reschedule the content as needed. If you want to change things before it is sent, follow the below steps.
Modify Scheduled Emails on Gmail Using PC
Step 1: Go to Gmail from your preferred browser.
Note: For the demonstration, we will use Chrome.
Go to Gmail
Step 2: In the left pane, click on the Scheduled tab.
Step 3: Under the Scheduled tab, click on the email you want to edit or reschedule.
Step 4: Click on Cancel send.
It will cancel your scheduled email and turn it into a draft. You can edit and schedule it again. Once you’re done making the changes, move to the next step.
Step 5: Click the chevron (arrow) icon on the blue Send button.
Step 6: Now, select Schedule send.
Step 7: In the pop-up, select your schedule.
If you want to stick to the same schedule, click ‘Last scheduled time.’ If you want to customize and select a specified date and time, click ‘Pick date & time.’
Step 8: Select the date and time and click Schedule send.
That’s it. You have edited and rescheduled your already scheduled email. If you don’t have access to your PC but still want to make the changes, check out how to do the same on a mobile device.
Change Scheduled Emails Using Gmail Mobile App
Step 1: Open Gmail on your Android or iOS device.
Step 2: Tap the hamburger (three horizontal lines) icon and select the Scheduled folder.
Step 3: Tap the scheduled email you want to edit or reschedule.
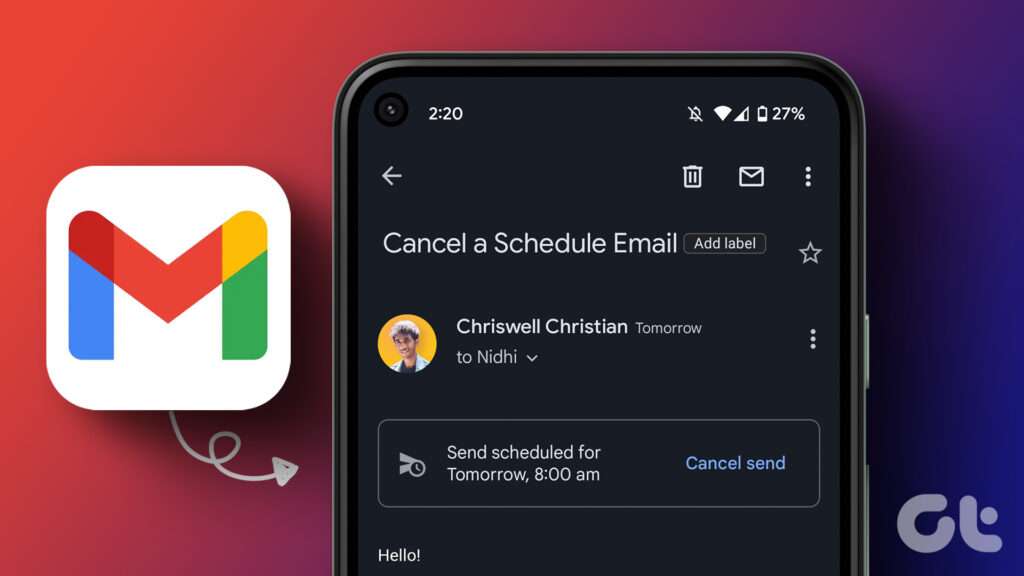
Step 4: Click Cancel send.
With this, the scheduled email gets canceled and transferred to the Drafts folder.
Step 5: Hit the pencil icon to start editing the email.
Step 6: Make the edits to the email. Once done, click on the three-dot icon in the top right corner.
Step 6: From the drop-down menu, select Schedule send.
Step 7: In the pop-up, select your schedule.
If you want to stick to the same schedule, tap ‘Last scheduled time.’ If you want to customize and select a specified date and time, tap ‘Pick date & time.’
Step 8: Select the date and time and click Schedule send.
There you have it. You have rescheduled the mail after successfully editing it. In addition, you can also schedule it from the Mail app if your Gmail account is connected. If you don’t want to edit or reschedule but want to delete the scheduled email, move to the next method.
How to Delete Scheduled Emails in Gmail
Canceling may not seem viable, but sometimes it can be the need of the hour. Deleting a scheduled email follows the same path as a normal one. Let’s get into it.
Delete Scheduled Emails on PC
Step 1: Go to Gmail from your preferred browser.
Note: For the demonstration, we are going with Chrome.
Go to Gmail
Step 2: In the left pane, click on the Scheduled tab.
Step 3: Under the Scheduled tab, click on the email you want to cancel
Step 4: Select Cancel send.
It will cancel your scheduled email and transfer it to the draft folder.
Step 5: To delete, click on the trashcan icon at the bottom right corner.
There you go. You have canceled the scheduled mail and also deleted it. If you want to know to do the same using mobile, move to the next method.
On Mobile
Canceling a scheduled email is as simple as it was on PC. The steps are pretty easy to execute. Follow the instructions below.
Step 1: Open Gmail on your Android or iOS device.
Step 2: Tap the hamburger (three horizontal lines) icon and select the Scheduled folder.
Step 3: Choose the scheduled email you want to cancel.
Step 4: Hit Cancel send.
It will cancel the scheduled email and turn the email into a draft.
Step 5: Tap on the trashcan icon at the top.
That’s about it. You have canceled and deleted the scheduled email in Gmail. If you have any questions, check out the FAQ section below.
FAQs on Cancelling a Scheduled Email in Gmail
1. Will a scheduled Gmail email send if the computer is off?Yes, a scheduled Gmail email will still be sent even if your computer is off. Once you schedule it, it gets queued up in Google’s servers and is sent at the scheduled time regardless of whether your computer is turned on or off.
2. Will the recipient know if an email is scheduled?No, the recipient will not know if an email they receive is scheduled. From their perspective, it will appear like any other regular email they have received. Moreover, the scheduling feature is entirely internal to Gmail. It does not affect the appearance or content of the email.
Cancel Your Scheduled Mails
Now that you know how to edit or cancel a scheduled email in Gmail, you will have complete control over your emails. By following the steps outlined in this article, you can easily modify or cancel your scheduled emails on Gmail. Subsequently, you may also want to read how to delete all promotion emails in Gmail.
Guiding Tech
https://feeds.guidingtech.com/link/18225/16021312/how-to-edit-or-cancel-scheduled-emails-in-gmail