
When you hand over your phone to somebody else, you wouldn’t want them to open another app or any other content beyond what’s intended to be seen. This is primarily a concern when your kids are using your phone. Thankfully, iPhone and iPad have a feature to help us deal with this – here’s everything you need to know on how to use Guided Access on iPhone and iPad.
In this article, we want to show you everything you need to know about the Guided Access feature. It is one of the more helpful tools developed by Apple, and if you did not know about this feature before, it will certainly change how your kids use your iPhone or iPad. Let’s begin.
What Is Guided Access
Guided Access is a feature that restricts your iPhone or iPad to a single app. Until you disable Guided Access, you cannot switch to another app. Further, disabling the feature to use other apps on your iPhone is protected by a passcode.
To make the most of it, there are various controls present in Guided Access. You can disable the touchscreen, set a timer for guided access, disable physical buttons, and more. We’ll help you explore all of these in the later parts of this article. Let us now see how to enable Guided Access on iPhone and iPad.
Turn on Guided Access on iPhone and iPad
Here’s how you can turn on Guided Access on your iOS device.
Step 1: Open the Settings app. Tap on Accessibility.
Step 2: Tap on Guided Access.
Step 3: Turn on the toggle for Guided Access.
Step 4: Turn on the toggle for Accessibility Shortuct as well so that you can easily activate Guided Access with a triple click of the side button or the home button (if your iPhone has one).
Tip: You can also select Passcode Settings to set up a passcode using Face ID or Touch ID to make the Guided Access sessions more secure.
How to Start a Guided Access Session
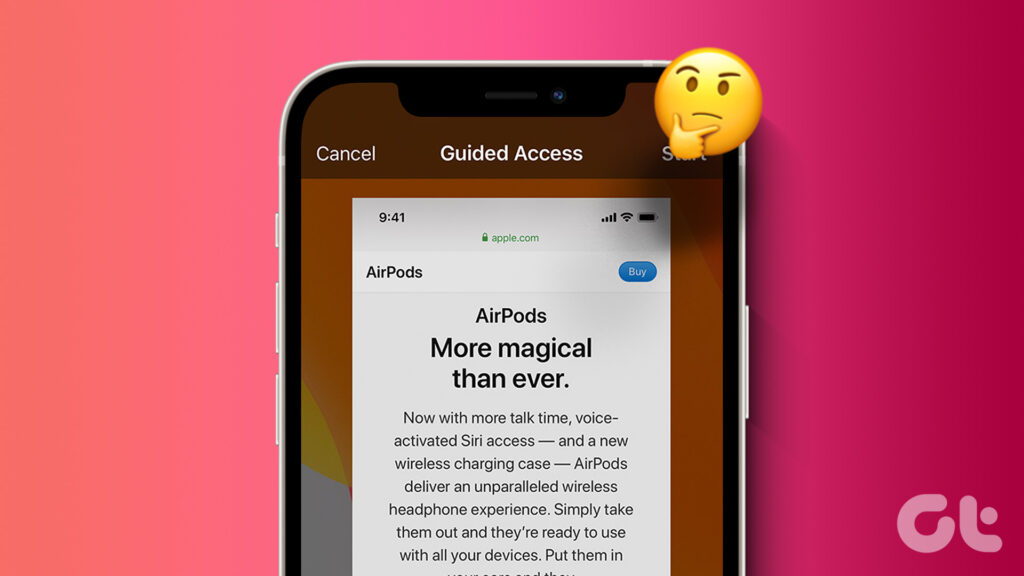
To start a Guided Access session, open the app which you want your iPhone to lock to and then triple-click the side button or the home button (if your iPhone has one).
Tap on start and you will now have to set a passcode to protect the controls of Guided Access.
Your Guided Access session will now start and your iPhone will just be restricted to the one app that is running in the foreground.
Lock iPhone and iPad Screen for Kids With Guided Access
With Guided Access, you can also disable and lock the touchscreen so that your kids or anyone else using your iPhone or iPad does not get to access any section of the screen. However, you can either disable the entire touchscreen or only disable parts of the touchscreen. Let’s begin with the latter.
Disable Areas of a Screen on Guided Access
Step 1: Open the Guided Access menu by triple-clicking the side button or the home button (if your iPhone has one).
Step 2: Circle the areas which you want to disable touch for.
Now, the touch for the selected area will be disabled.
Disable Entire Touchscreen on Guided Access
Step 1: Open the Guided Access menu by triple-clicking the side button or the home button (if your iPhone has one).
Step 2: Tap on Options.
Step 3: Turn off the toggle for touch and tap on Done.
Once the touch toggle is turned off, it will disable the entire touchscreen on Guided Access. However, you can triple-click and access the Guided Access menu to enable the touchscreen back on the app.
Additional Settings and Features of Guided Access
Besides locking and disabling touch on Guided Access, you get many more useful controls to monitor the app usage on your iPhone and iPad. Let us first see how to open up the feature menu.
Step 1: Open the Guided Access menu by triple-clicking the side button.
Step 2: Tap on Options.
Here are a few options that you can use to control Guided Access on your iPhone and iPad.
You can disable the side button and the volume buttons to prevent closing the screen or increasing/reducing volume.
You can disable Motion to lock auto rotate.
You can disable any keyboards from being used within the app.
You can set a time limit for Guided Access. This ensures that Guided Access is enabled only for the set duration.
Further, if you open Settings -> Accessibility -> Guided Access, you will find options to turn on voice feedback when the timer for Guided Access is ending or enable FaceID for Guided Access.
End a Guided Access Session
If you want to exit the Guided Access session, all you need to do is to triple-click the side button or the home button (if your iPhone has one) and tap on End. This will exit the Guided Access session.
That is everything you need to know on how to use Guided Access on your iPhone. If you have any further questions, you can take a look at the FAQ section below.
FAQs on Guided Access
1. Which version of iOS was Guided Access released in? Guided Access was launched with iOS 6 in 2012.
2. Is there any third-party app that offers the features of Guided Access on iPhone? No. There isn’t any reliable app that offers and replicates the features of Guided Access on iOS.
3. Is Guided Access available on Android? Yes – you can use the App Pinning feature on your Android Device.
Control Your iPhone With Guided Access
With Guided Access, never leave your iPhone in somebody else’s palm with the worry of them sliding to another picture or another app. Triple-clicking the side button or the home button certainly makes it quite easy and provides a quick way to use Guided Access. Furthermore, it is a great way to enable parental controls on your iPhone and iPad. Therefore, we hope this article helped!
However, we noticed that Guided Access causes a delay while locking your iPhone. To know more, fix iPhone lock screen delay.
Guiding Tech
https://www.guidingtech.com/use-guided-access-on-iphone-and-ipad/

