Wondering how to use AirDrop over cellular? You’re in the right place. Since updating to iOS 17.1, I can now transfer files via AirDrop over a cellular connection, even beyond the typical AirDrop range. This holds as long as both iPhone owners are signed in to an iCloud account. Using AirDrop over cellular is easy, so read on to learn how you can use it as well.
How Can I Use AirDrop Over Cellular? Before we go into specific steps of how to use AirDrop over cellular, you should be aware that you need to first upgrade to iOS 17.1. To install software updates on your iPhone, go to Settings > General > Software Update.
Activating AirDrop Cellular Transfer Now that you’ve upgraded to iOS 17.1, you can stay connected through AirDrop over a cellular network even when Wi-Fi isn’t accessible.
Time needed: 1 minute
Here is how to activate AirDrop transfer over cellular:
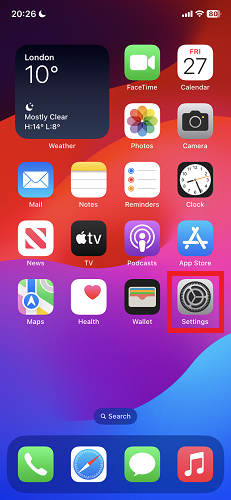
Open up the Settings on your iPhone or iPad.
Tap General.
Look for and select AirDrop.
Under the Out of Range section, toggle on the switch next to Use Mobile Data.
By doing this, you ensure that you have seamless AirDrop functionality even in situations where Wi-Fi isn’t available. Here are other things you should do before you begin AirDrop transfer:
Make sure that both of your devices are within Bluetooth and Wi-Fi range. Turn off your Personal Hotspot, if it’s on. Make sure both of your devices have Wi-Fi and Bluetooth turned on. If the person you’re sending to has their AirDrop set to receive from Contacts Only, they need to have your email address or mobile number in their contact card for AirDrop to work. If you’re not in their Contacts, tell them to set their AirDrop receiving setting to Everyone. Now, it’s time to actually transfer your files using AirDrop.
How Do I Share Via AirDrop? To share a file or photo using AirDrop Select the file > Share Button > AirDrop. Make sure that you and the person you are sharing with are nearby and have AirDrop turned on.
Open the folder or app that contains the file you want to share. Tap Select > Share Button > AirDrop button.
Tap the user that you want to share with. If the person you’re sharing with has their AirDrop set to receive from Contacts Only, they will need to accept your AirDrop request. Once the person you’re sharing with has accepted your AirDrop request, the file or photo will be sent to their device.
How to Turn off Cellular Data for AirDrop You should be aware that cellular data charges may apply when using AirDrop. If you’re concerned about incurring cellular data charges while using AirDrop.
Open your iPhone’s Settings > General > AirDrop. Toggle off Use Cellular Data. Does AirDrop Use Wi-Fi or Cellular? AirDrop uses Wi-Fi, Cellular Data, or Bluetooth to transfer files between devices. Wi-Fi is used to create a secure point-to-point connection between the devices, while Bluetooth is used to discover nearby devices and initiate the transfer.
If Wi-Fi is not available, AirDrop can use cellular data to transfer files. However, using cellular data can be slower than Wi-Fi and may incur additional charges.
Final Thoughts You can now use AirDrop over cellular, making it easier to stay connected and share content with others, even when Wi-Fi is out of reach. With the new cellular data option, you can seamlessly transfer files between devices. If you’ve found our article useful, please share it with your friends and family. Also, drop your comments or questions in the section below. Your feedback is invaluable.
The Mac Observer