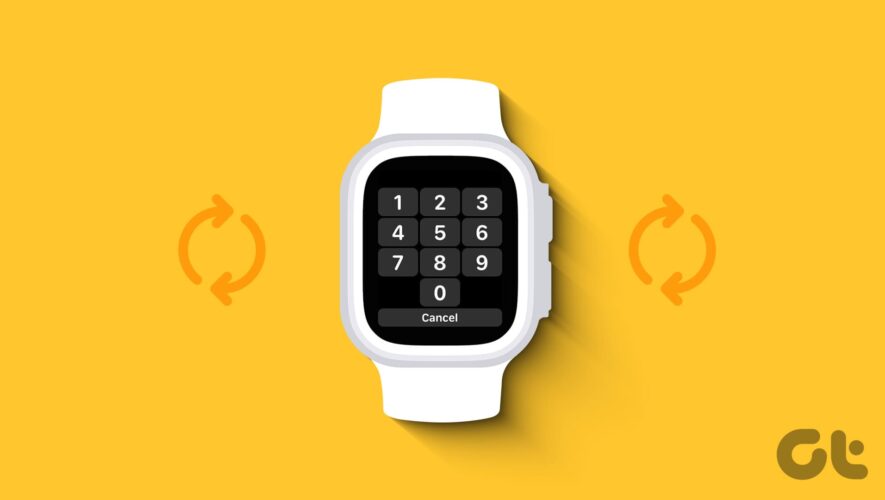
Apple Watch helps track your activities, like how many steps you take daily, your sleep statistics, pay for things using Apple Pay, take calls, etc. But with such a wide range of functionality, it becomes a necessity to ensure your watch is secured. So, let us look at how to set or change your Apple Watch passcode.
When setting or changing your Apple Watch passcode, ensure it differs from your iPhone. Additionally, you can also enable Wrist Detection if you don’t wish to enter your passcode every time you use your Apple Watch.
And if no longer required, disable the passcode on your Apple Watch. Although, this is not recommended. On that note, let’s get right into it.
Note: Ensure your Apple Watch is paired with your iPhone before proceeding.
How to Set a New Passcode for Your Apple Watch
Let us look at how you can set up a new passcode on your Apple Watch from your Apple Watch or the paired iPhone.
Using Apple Watch
Step 1: On your Apple Watch, press the Digital Crown once to open the App Library. Then, tap on the gear icon.
Step 2: Scroll down and tap Passcode.
Step 3: Tap on ‘Turn Passcode On’.
Step 4: Here, enter and re-enter the new passcode. This will be a four-digit passcode.
Step 5: If your passcode is easy to guess, you might be prompted by Apple Watch. In this case, select Use Code if you wish to keep it or Change to enter a new passcode.
This will help you set up a passcode on your Apple Watch to keep it secure. However, if you prefer to set up a passcode that is 6 digits long, you must disable the simple passcode setting. Here’s how.
Set Up a 6-Digit Passcode on Apple Watch
Step 1: On your Apple Watch, go to the Passcode page. When prompted, enter the passcode you’ve set.
Step 2: Then, scroll down and turn off the toggle for Simple Passcode.
Note: You can set up a passcode of a maximum of 10 digits once this setting is disabled.
This will help you change the Apple Watch passcode to 4 or 6 digits, depending on whether the toggle is turned on or off.
Also Read: How to fix Apple Watch Digital Crown not working
Using iPhone
Step 1: Open the Watch app on your iPhone.
Step 2: Scroll down and tap on Passcode.
Step 3: Tap on ‘Turn Passcode On’.
Now, follow the on-screen instructions on your Apple Watch to finish setting up your passcode.
How to Change Apple Watch Passcode
If you feel like your passcode can be easily guessed, or if someone has figured it out, you can change the Apple Watch passcode from your iPhone or Apple Watch to make it more secure. Here’s a step-by-step look.
Using Apple Watch
Step 1: Press the Digital Crown once on your Apple Watch to open the App Library.
Step 2: Here, tap on the Settings icon → Passcode. When prompted, enter your current Apple Watch passcode.
Step 3: Tap on Change Passcode.
Step 4: Now, enter your old passcode. Then, enter your new Apple Watch passcode.
Using iPhone
Step 1: On your iPhone, open the Watch app. Here, tap on Passcode.
Step 2: On your Apple Watch, enter your current passcode when prompted.
Step 3: Here, tap on Change Passcode.
Tip: You can also turn on the toggle for Erase Data. This will ensure your Apple Watch data is automatically erased once 10 failed passcode attempts have been made.
Now, use your Apple Watch to change your passcode accordingly.
Can You Completely Disable the Apple Watch Passcode
Yes, you can disable the passcode on your Apple Watch. However, we advise against it as this will leave your Apple Watch vulnerable and turn off certain watch features as well. However, if you would still like to go ahead, here’s how you can turn off the passcode on your Apple Watch.
Using Apple Watch
Step 1: Press the Digital Crown once on your Apple Watch and tap on Settings.
Step 2: Tap on Passcode. Enter your current Apple Watch passcode when prompted.
Step 3: Now, tap on ‘Turn Passcode Off’.
Using iPhone
Step 1: Open the Watch app on your iPhone and tap on Passcode. When prompted, enter the current passcode on your Apple Watch.
Step 2: Here, tap on ‘Turn Passcode Off’.
This will instantly disable the passcode on your Apple Watch. Remember that some watch features might be unavailable once this is done.
FAQs for Using Passcode on Apple Watch
1. Does the passcode turn off when Low Power Mode is enabled on Apple Watch? A passcode is an essential part of your Apple Watch’s safety. So, no matter what watchOS your Apple Watch is on, enabling Low Power Mode will not disable the passcode.
2. Does setting a passcode for Apple Watch impact other watch functions? Yes, once you set up your Apple Watch passcode, you can use features like Apple Pay on your watch. Wrist Detection will also become available. Additionally, you can unlock your Mac from your Apple Watch. Similarly, once the passcode is disabled, all these features will become unavailable on your Apple Watch.
Secure Your Apple Watch
While adding one more password to the existing pile might not sound appealing, it is a necessary evil that can help protect your device from unwanted intrusions. So, we hope this article helped you set up or change your Apple Watch passcode. Additionally, you can also check our other article if you’ve forgotten your Apple Watch passcode and would like to reset it.
Guiding Tech


