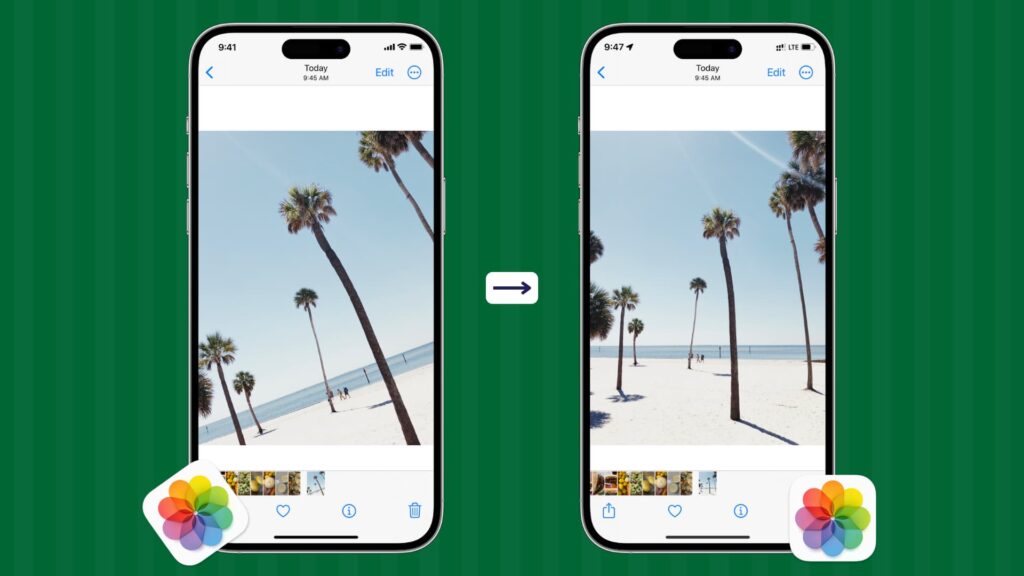
Not all photos are shot perfectly straight, and more often than not, you’ll have to manually straighten them to get them leveled to your liking. Straightening a photo isn’t a pro tip, but the feature isn’t necessarily self-explanatory either. So in this quick tutorial, we’ll show you how to straighten a photo on iPhone and iPad using the stock Photos app.
How to straighten photos on iPhone or iPad
1) Open the Photos app and select the picture you want to straighten.
2) Tap Edit.
3) Tap the crop button to bring up the cropping and straightening controls.
4) Directly under the photo, place your finger on the Straighten dial and drag it left or right to adjust the leveling.
You will see the image rotate, and a grid with horizontal and vertical lines will appear on top of the photo to help you properly adjust it to your liking.
You will also see a number between -45 to 45, signifying the degree of edit you made. Tapping the round Straighten icon will bring the number to zero (0), and tapping it again will take you back to the previous number.
In addition to the Straighten tool, you can also use the Vertical or Horizontal sliders to further adjust the angle of the photo and get the perspective you want.
5) After you have straightened your photo, it will crop out some parts of the image as needed to straighten it. However, if you notice your image is zoomed in significantly, place two fingers over the image and pinch in to zoom out. This way, you may be able to include more parts of the original image in the final straightened version.
Note: You can tap the Reset button anytime during editing to remove the current straightening changes and start fresh.
6) Once the photo is straight as per your liking, simply tap the Done button to save your edits.
You can now send this straightened image via apps like Messages or post it to Instagram, Twitter, etc.
If you want to get back to the original, unedited version of the image, open it in the Photos app. Next, tap Edit > Revert > Revert to Original.
Pro tip: Enable grid lines in the Camera app to help you straighten your photos before you shoot them.
For more photo tips, make sure to check out our iPhone Photography page.
You’ll also like:
iDownloadBlog.com